Showing posts with label sheets. Show all posts

Friday, June 19, 2026

Things I Didn't Buy from the Thrift!

I enjoy thrifting but my sewing stash of fabric, notions & patterns is getting pretty full up. So I am trying to be judicious about new purchases. It's nearly as fun just to take photos of things I *could* buy! 

I found a few things in my recent travels around the thrift stores that I would not have purchased in any case, as they weren't my style. But they were so cute! There were a bunch of 100% cotton sheets & linens that someone with the right aesthetic could make a wardrobe from. I saw 2 black & white pieces that went well together.  

There was a heavier weight pink gingham curtain that would make a pretty fitted skirt or cropped jacket.

And the most amazing trio of  complementary fabrics that could provide a summer capsule. Not in my style zone but so pretty together.  


I'm glad I have discovered how fun it is to imagine someone else enjoying a thrifted find instead of buying it all myself 😂

Friday, June 12, 2026

Style Arc Blaire in Upcycled Duvet!


I'm very happy with my new Style Arc Blaire blouse! I had a lot of fun making this one. It's the blouse I cut out in April intending to make it for the various upcycling challenges that month - but I have just now had the chance to finish it! 

The lines of this boxy blouse are really interesting -- lots of chance to play with colour and/or print. I picked up this duvet from the thrift store a few months ago, finding the print irresistible. It's a lightweight cotton-poly blend, quite crisp but not a heavy fabric. Perfect for this blouse, both for the stripe play and for the double layer required on the bottom part of the pattern. 


I found this a straightforward pattern for Style Arc. The instructions are of course quite sparse, being Style Arc. But they are logical, and there are some illustrations for the more confusing bits, which was very helpful. The most unique thing about this pattern is that the bottom piece is two layers: the inner is a straight bottom band , and the outer has a large U-shaped cutout on the sides, to highlight the underlayer, whether that is stripes in a different direction, like mine, or any colour blocking you might be doing. It's quite fun! I did find the U angle a bit hard to hem neatly, but that could be because my fabric has zero give at all. In a cotton or linen you might be able to smooth out the curves a little more easily. But my fabric is so busy it hides the small wrinkles so it all works out LOL! 

I love the cut on sleeve as well, it's just the right size for my preferences. There is a sleeve cuff, which gave me another option to play with stripe direction. The instructions are to sew the outer cuff, turn it under and stitch in the ditch to catch the inside. With the small size and angles I thought that would be too fussy for me, so I just sewed the cuff on in one go with a zigzag finish and pressed toward the bodice. That was very easy and gives a tidy finish as well. 

I was really lucky to find the perfect buttons in my stash. I had a card of vintage buttons that were just the right size and finish for this blouse. I had another set in mind at first, but found they were too shiny and distracted from the black tones of the blouse. These ones are matte and have just a little extra interest to them. I love how they run down the white stripe on the button placket. 

This is super comfortable - the fit is great. The only alterations I made were just for length - I added 2" to the bottom sections only. I like this length and the whole vibe is a lot of fun. I'm really happy with this one, so glad I finished it :) 


Friday, November 14, 2025

A Celeste in Calcifer Colours: a Literary Sewing Circle project

I finished my own project for the Literary Sewing Circle this week, and I love it! My inspiration came from the description of Calcifer, especially when Sophie first sees him when she ends up in the Moving Castle for the first time. 

She stretched out a creaking arm and heaved a log on the fire, which sent a spray of green and blue sparks flying up the chimney. She heaved on a second log and sat back, not without a nervous look or so behind her, where blue-purple light from the fire was dancing...she turned back to the fire, which was now flaring up into blue and green flames. "Must be salt in that wood," Sophie murmured... She was side tracked a little by imagining a face in the flames. "It would be a thin blue face," she murmured, "very long and thin, with a thin blue nose. But those curly green flames on top are most definitely your hair...and those purple flames near the bottom make the mouth..." Curiously enough, the only orange flames in the fire were under the green eyebrow flames, just like eyes, and they each had a little purple glint in the middle that Sophie could almost imagine was looking at her, like the pupil of an eye...


 The unusual colouration of Calcifer's flames made me think of a fabric I had in my stash -- actually an old sheet (probably from the 80s) that I've had for quite a few years. It leapt to mind and I couldn't stop thinking about it. The hard part was trying to decide what to make with it. I certainly didn't want to waste the fabric, as it is totally unique -- hard to get more of a thrifted sheet from years ago! 

I ended up going with a dress I've made before, which I also thought was pretty suitable to the Calcifer theme. It's the Celeste by Itch to Stitch, as a nod to Calcifer's previous existence. 

I made a couple of modifications this time around. I lengthened it slightly so it's just below the knee, and I extended the sleeve from a short to a 3/4 length, with enough of a turned under hem that I can fold a small cuff as well. Just as with my first version, I didn't put a side zip in, although this fabric is a bit more unforgiving than the linen blend of the first one so it's a bit of a shimmy to get it on. 


I really love how it turned out, and am particularly pleased with the sleeve. I extended it but then checked against another pattern that I liked, and realized that I needed to make the sleeve a bit straighter, as it would have been too narrow at the hem the way I'd first drawn it. A handy way to double check - now the sleeve is perfect. 


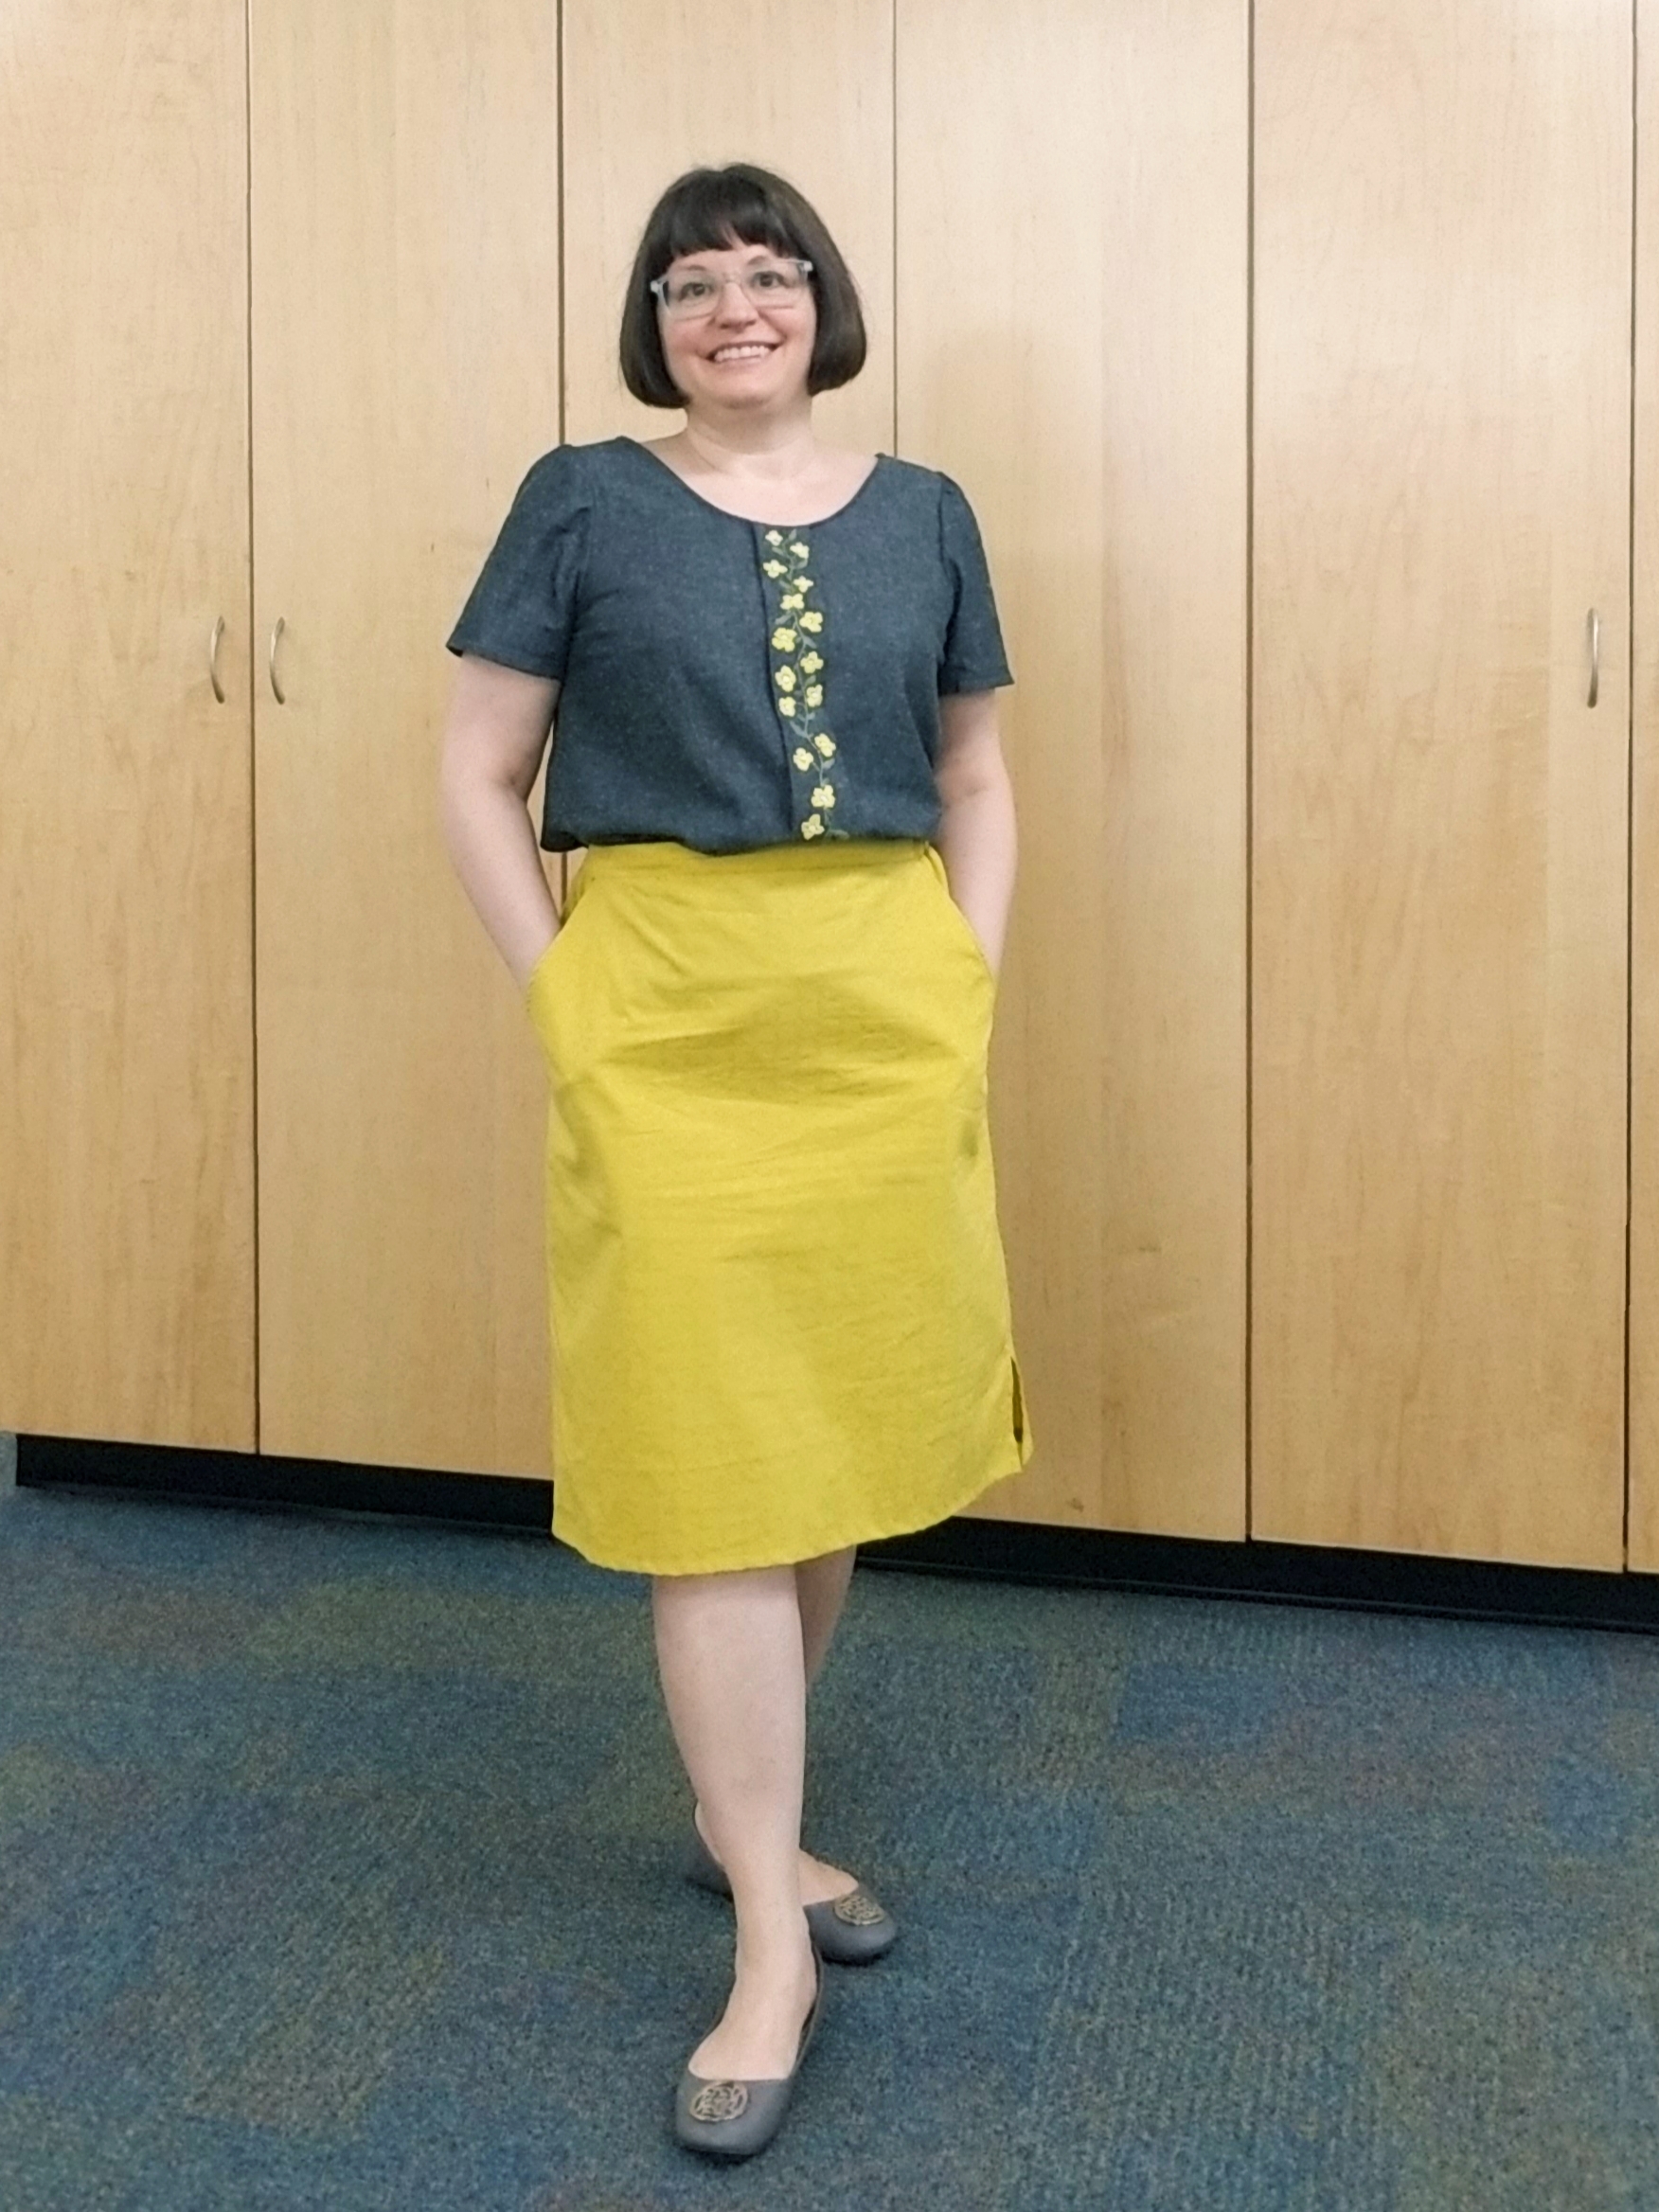
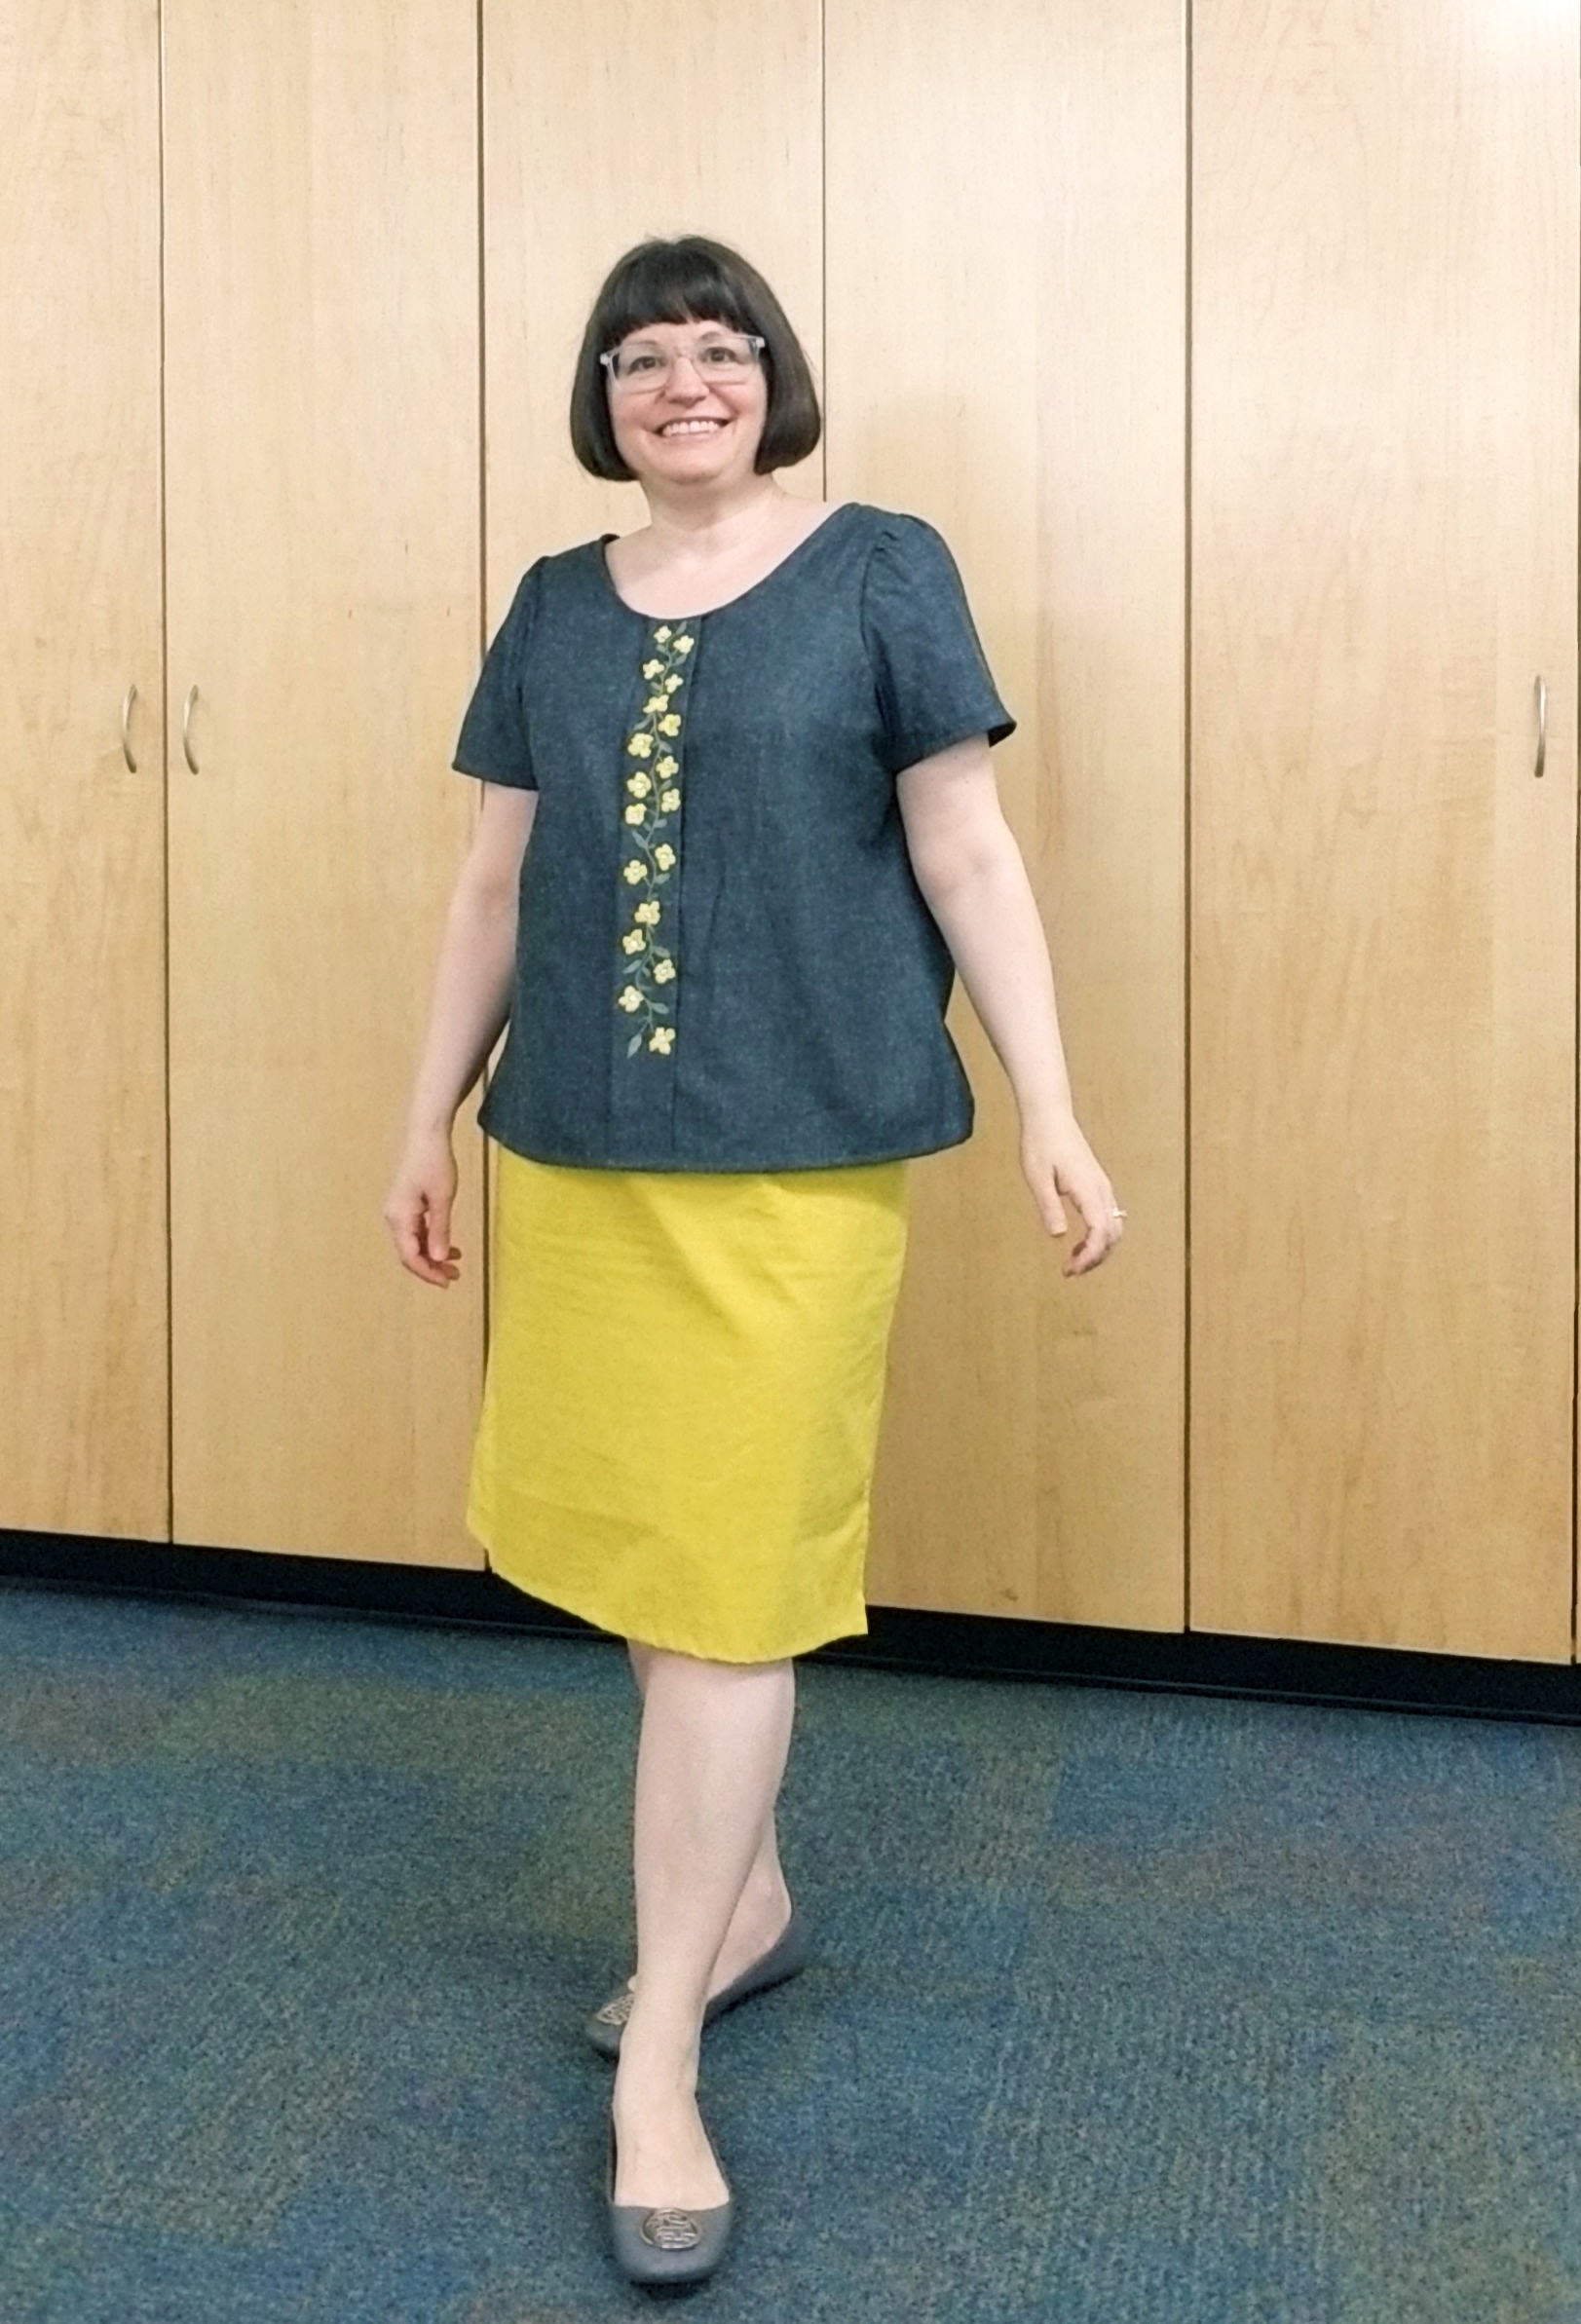
I took pictures at an art opening at my library; I felt like it was a good occasion to wear this. Love this easy to wear pattern, and I'm especially happy with this version, which feels more like a fall/winter version to me than my first one which was in floral print with short sleeves! That one is a summer staple. I'm sure I'll get a lot of wear out of my Calcifer dress. 


Tuesday, April 8, 2025

Sew Frugal with the Milou free dress pattern


This is a project I made for a number of reasons - a few online challenges, and the desire for a new spring dress in a nice yellow! 

I was inspired by the #SewFrugal challenge on IG, always a fun one; you are asked to make something from a free pattern using fabric from your stash. Add to this the "Mellow March" theme from MAGAM, also on IG, and a PatternReview contest, and I was inspired. 

I decided to try the free Milou Dress by Fabrics-Store.com. The loose fit, but with inset gathers on front and back, looked fun to me. I had a lightweight yellow cotton-poly sheet in my stash that I thrifted a few years ago, and thought it was the perfect match. 

I enjoyed making this, although with a free pattern you often do get what you pay for. I found this one pretty good overall, with one major exception. The neckline is tiny, and I mean just under 20", when the average woman's head is 21-22". Mine, however, is a large head - I have a gargantuan cranium! So it was particularly impossible to fit this over my head, which is important in a pull on dress! Luckily, it is a neckline with just a bias facing, so it was very easy to enlarge the neck opening and bind it appropriately. Of course if you wanted to keep a higher, tighter neckline you could always add a back slit in the neckline and face it. 

Another slight complaint is that there were no tips in the instructions on how to get a clean corner on the insets. I looked up a tutorial on Youtube to remind me. There were links to a few other techniques in the instructions, including one on how to add side seam pockets. I did this of course! 


Otherwise it was a pretty good project. I do find that the sleeve is a bit wide at the hem, I'm not sure I like the straight line all the way down. I do like the sleeve rolled up, but I am thinking of going back and narrowing the sleeve down toward the hem a bit. I also added 2" of length but I could cut that to 1.5" if I make this again, as I ended up taking a deeper hem than my usual. 


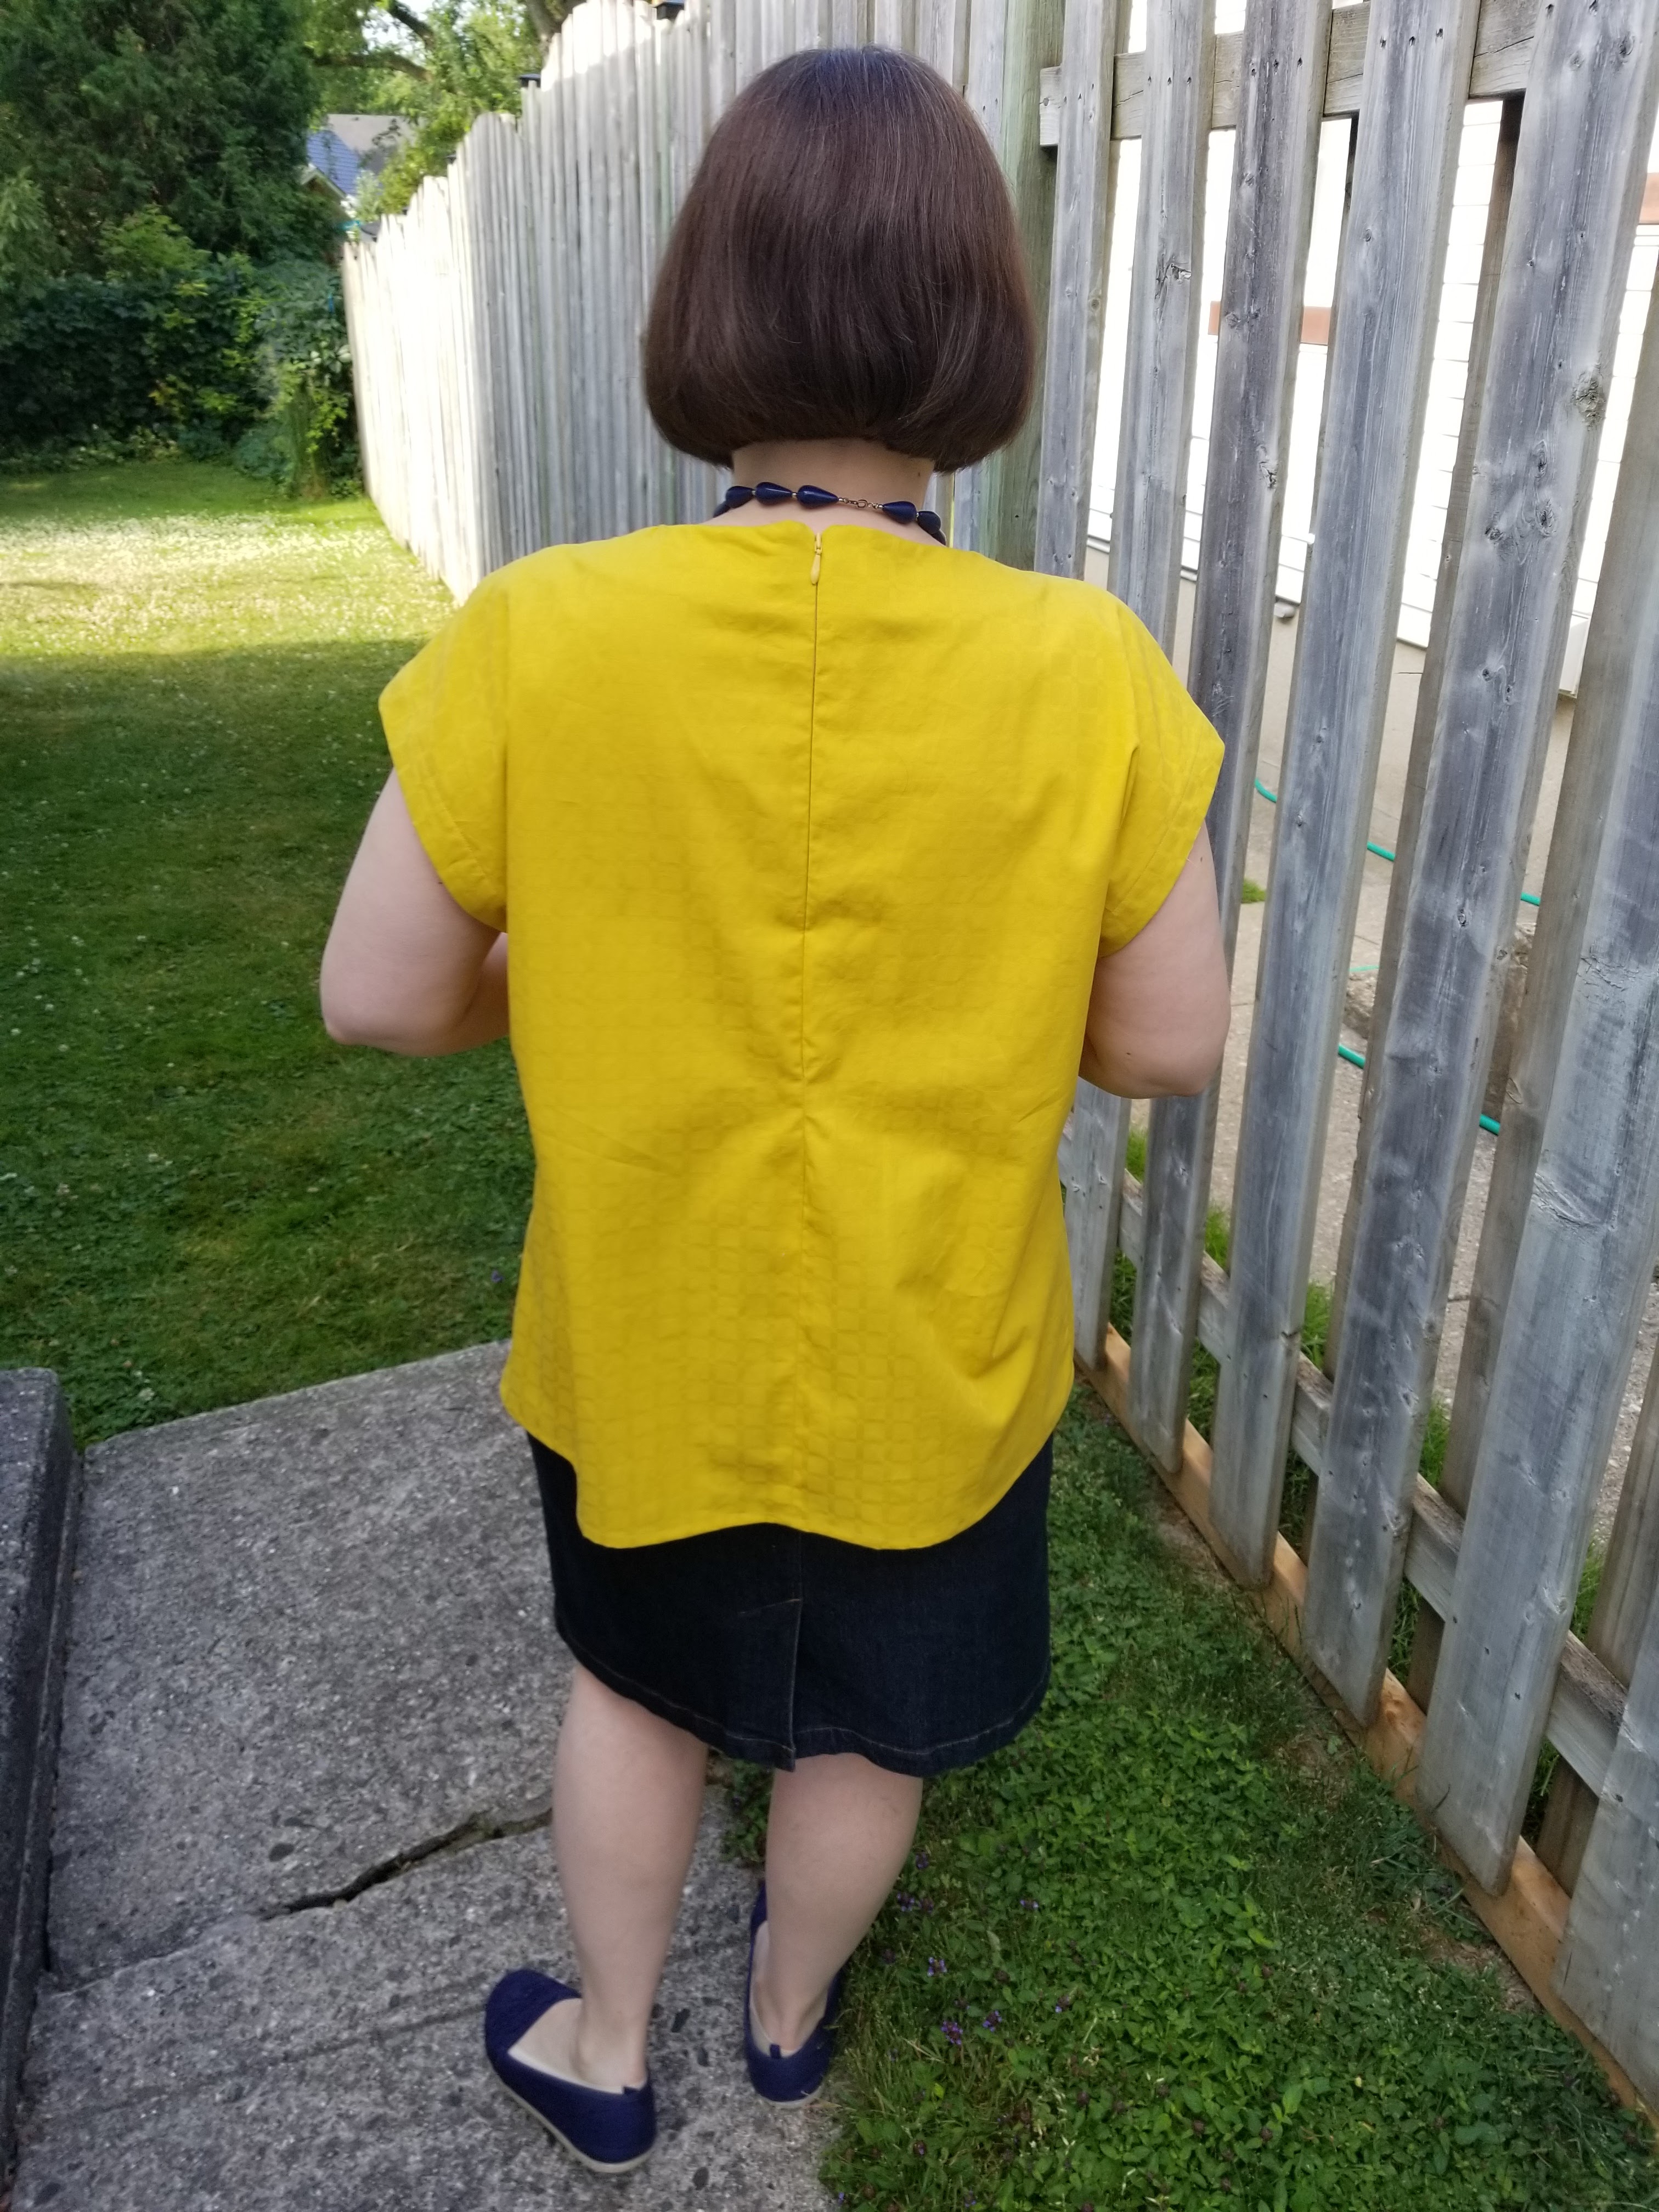
One of the challenges in the PatternReview contest was to make a basic solid coloured dress and style it for day and night. I had fun with those photos, but do think I'll likely wear this most in the day verson. I consider yellow a basic in my wardrobe! This was a fun make despite the small issues that cropped up, which were all easily fixable. I like the finished pattern - the original was colour blocked (very subtley, in white and cream linen) so that's always an option, too, but I love my solid colour version that I think shows off the main feature of the pattern, those inset gathers. 

Evening look!


Tuesday, September 17, 2024

Hot Pink Upcycled 90s Dress!


This delightful project was done just in time for a 3 day return of summer temperatures here - perfect for cotton dresses 🙂 It's made from a 100% cotton IKEA duvet cover which I bought at the thrift store this summer, just because of the intense colour that I noticed from an aisle away.


When I got it home I realized I would have to be very careful with print placement! There are a series of fairly closely packed circles all over it. I looked through my stash for something with princess seams so I could slice up the motifs & came up with Simplicity 9601, a 1996 shirtdress pattern. I think it worked re: motifs but it also has a great fit, the cut-on sleeve isn't too revealing in the underarm area, but it also doesn't restrict movement at all. I really like it! I think I may use this one again. 

I had to cut the length somewhere between their long and short to get the perfect longer skirt look for me. Of course I added some side seam pockets as well. I did shorten it an whole inch above the waist, and I cut the shoulders at 14 and the rest at 16, giving myself a smidge extra at the hips. The only thing I would change if I make it again is to take a little sway back adjustment to deal with a bit of extra fabric at my lower back. Otherwise I love the fit and feel of this - the sleeve is great, the V isn't too low, and it's comfy.

And I was thrilled that the perfect buttons were in my button box - I wasn't sure what to use with this fabric until I saw these. I bought them at my local Fabricland some time ago with another project in mind, but am so glad I never used them because they are just right for this fabric! The only issue I had sewing this dress was that the bright fabric made me see spots if I didn't look up to rest my eyes often enough. It's so nice to have a problem free sew once in a while!


Tuesday, October 31, 2023

I AM Barbara in Skull & Crossbones

I've had this project in mind for a few months, and with a weekend of intense sewing, managed to get it made in time for my Halloween workwear! 

The I AM Barbara blouse caught my eye a while back - I don't have anything like it; it was the flounces that interested me. I like the ones with the least flounce to them, and thought that this fabric was a perfect match to this design. I bought it with this project in mind, and happily it all came together just as nicely as I'd imagined in my head! 

The fabric was originally a 100% cotton IKEA sheet, which I bought at the Goodwill. When I saw it, it looked like a repeated print in black & white, which fits into my wardrobe parameters. But when I looked a little closer, I saw that it is tiny skull & crossbones. How delightful! 

And, the fabric is very soft and light, so I thought that a double layer, like in the Barbara blouse, would work well with it. It wouldn't be too bulky, and it would also be a bit more wearable if two layers make it a tiny bit less transclucent. 

I really enjoyed sewing this, even if I was pushing myself to finish it. The instructions were clear, even with some fussy bits like the front hidden placket piece.

I ended up not doing it perfectly but close enough to wear and be functional - that's all I ask! I also made a small boo-boo on one cuff, which buttons the opposite way to the other, but that's easily fixable but removing and replacing that cuff. I will do that at some point ;) 

I cut a 42/44 with a little more width at the hip/hem. And I had to shorten the sleeve by 5/8", which meant also shortening the flounces. I didn't take any length off the body of the blouse, in fact I added 1/2" to the bottom to give me more hem allowance. I think that it's just right. 

I used flat black buttons for the placket, but used 4 hole buttons for the collar and cuffs (the visible buttons) so that I could stitch them on in an X pattern using white thread, to echo the print. I really love everything about this! 


The fabric is so soft to wear, and works really well with this design. The only slight drawback is that it needs a lot of pressing! I love it and am so glad I pushed to get it done. This is an interesting design that I enjoyed making, and I also love the fabric a lot. 


Wednesday, June 21, 2023

When Refashions Go Wrong

Way back in the spring, PatternReview was running its Sewing Bee challenge. I made it to Round 2 on the strength of my first project, a Knit Dress With A Twist. 

The challenge for Round 2 was Collars. I have lots of collars that are interesting, and lots of things I've always wanted to try. I decided to try to make a Book Dress with a Chelsea Collar that would be multi-layered to look like book pages. Well, great idea but not so great in the execution. 

I used Simplicity 7238, a Christie Brinkley pattern from 1991. I had some good base fabric for the dress -- an old sheet, which had tones and shapes that reminded me of old book bindings. So far so good. Then I tried to create layers of sheers as "pages". So many problems! 

First off, the Chelsea collar wasn't the right choice for this concept - there was too much collar, and the sheers that I had in my stash just weren't stiff enough. I sprayed them all with spray starch and pressed but still not enough body to have the effect I wanted. Also, I caught Covid right at the beginning of collar week so was way too exhausted to do anything that might have added to the effect, like adding a text underlay, stitching with wire edges etc. I gave up and just got done what I had started so I had an entry. 

But I didn't like very much, I felt that it really didn't work for me. I put it aside thinking that maybe I could take off the sheer layers and make the dress actually wearable. I finally got to the refashion this month, and removed the sheer bits, sewing the plain collar back on. I like it much better, and think it could be wearable. But not, alas, by me. 

I don't like the shape of this dress, or the collar, or the fabric colours (why did I think I would like these colours on me?). It doesn't have any drape, and the whole outfit is just a big fail, refashion or not! 


However, the fabric is very interesting in its own right, so I'll be unpicking the zip to go back in the stash, and cutting up the dress to put into my art quilt scrap box. I can see it making a great background for something :) The joys of having non-garment sewing possibilities! 

This project was another reminder that the things I make for challenges or contests that don't already fit in with my wardrobe plans and/or colour-pattern preferences are rarely successful. I will be able to reuse this fabric, but will never get all the time back that I sunk into the project. Have you had projects like this too? I have to remind myself to be more conscious about what I'm choosing to make, in many different ways. 


Friday, July 15, 2022

A Warm Weather Yellow Jacket

This is one yellow jacket that I am not annoyed by! I used most of the remaining cotton sheet left over after my recent Simplicity 9115 makes to whip up this cute little bolero jacket from an 80s pattern. 


This Butterick 4969Butterick 4969 is from the late 80s by my best guess. I bought it for this jacket pattern; it's unlikely I will make a sundress. 


It was a fairly easy project -- front & back with collar & facings. I neatly finished the seams & facing edges since they are visible on the inside. 


The interesting foldback collar is a collar band connected to the facings & front pieces.


Then it was just on to hemming! The pattern suggests a blind hem & I did think it would look nicer with the clean edges of this little jacket. So I got out my blind hem foot & hemmed both the bottom & sleeve hems. I had to unpick the first bit as I made a bit of a mess until I got back into the rhythm of this foot.

I really like the look & the fit of this little piece. It goes well with my recent Burda dress & I am sure that other items in my wardrobe will match up too. That's pretty much the end of my big yellow sheet now!